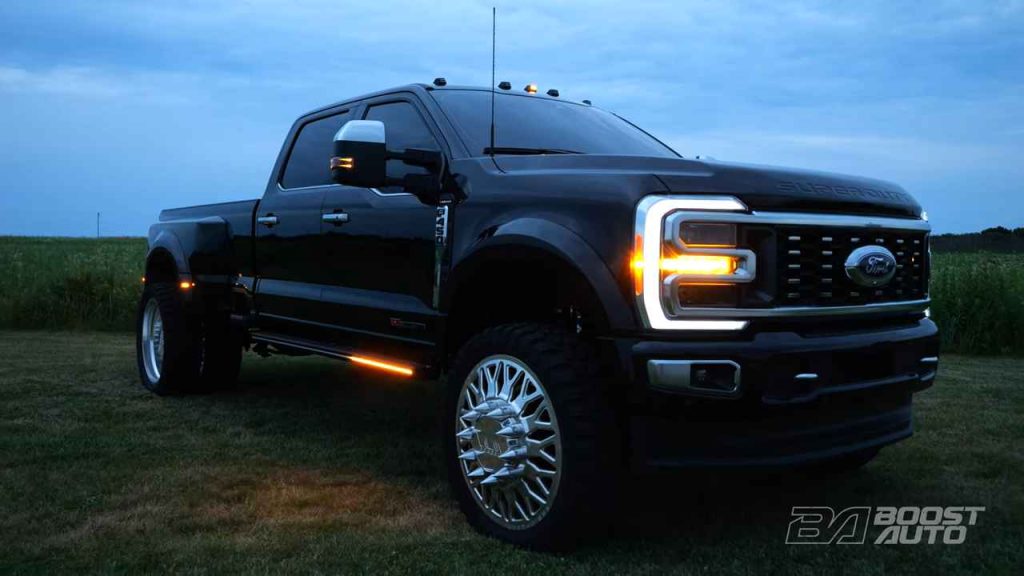
What’s up, guys? Welcome to Boost Auto. Today, we’re going to be showing you how to install our S Series cab lights on 2023+ Ford Super Duty trucks. Let’s get into it.
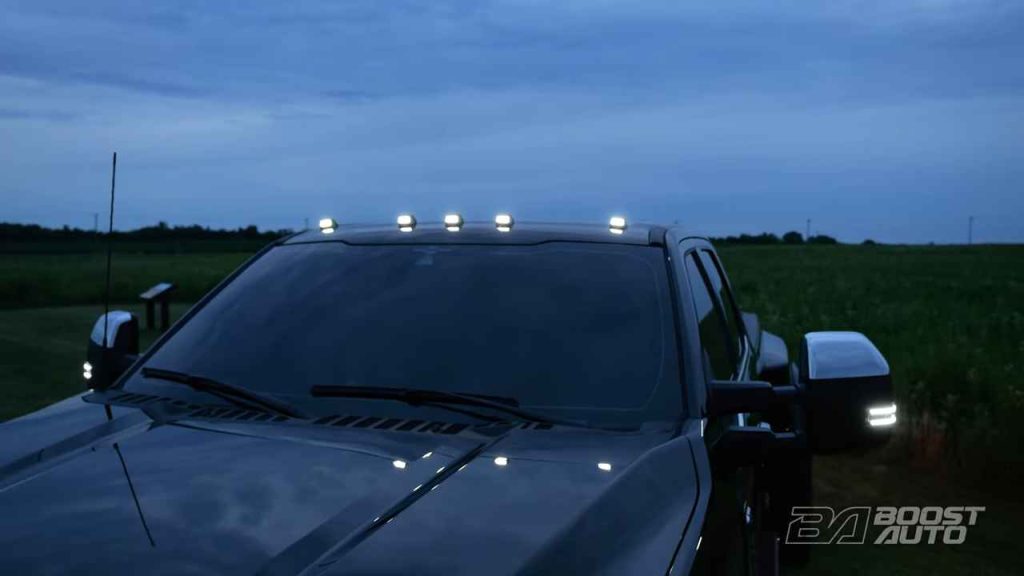
Introducing our S Series cabs. Boost Auto’s newest innovation offers a wide range of customizable options, ensuring these cab lights set your build apart from the rest. Enhance visibility and add a premium touch to your vehicle’s appearance with our exclusive features. Light up the sky with Boost Auto’s S Series cab lights—crisp white or sleek amber running lights that’ll leave your build looking sharp. You can also opt for our jaw-dropping startup sequence, adding personality to your vehicle from the moment you turn the key.
Plus, we’ve developed groundbreaking technology with our S Series module that enables turn signal functionality without running additional wires up to the cab lights. Get them in a standard flashing signal or opt for the premium sequential signal, where the signal swipes instead of flashes. The best part is, both styles are available as Switchback, fitting right in with the other awesome Boost Auto products on your truck.
Our S Series cabs’ innovative construction means you’ll get a watertight seal without the need for adhesives or sealant. Plus, with our precision engineering, our cab lights will fit flush against your roof, perfectly matching the curvature of your vehicle.
A couple of things to know before we jump into the install: First, the procedure outlined in this video is for all 2023+ Ford Super Duty applications with factory cab lights. If your vehicle is a different year range or you’re looking to retrofit our cab lights to a vehicle not originally equipped with cab lights, head on over to Boost Auto.
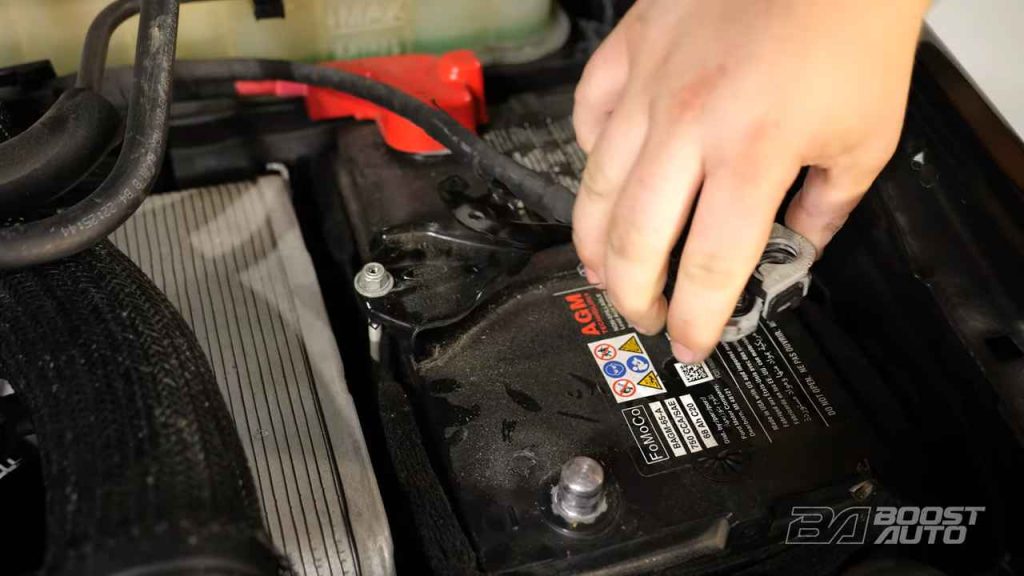
Before we go ahead and disconnect our batteries, we’re going to recline our seats back and open our sunroof, if we have one. This will make the process easier. Now we can go ahead and disconnect our batteries. We’re on the driver side of the vehicle, disconnecting our primary battery at the negative terminal. If you have an auxiliary battery, disconnect that too.
To start, we’re going to remove the rearview mirror cover. Unplug this connector—there’s a tab on top. After removing the trim piece by the rearview mirror, we’re going to go ahead and remove the sun visors. Take your sun visor, extend it out, and now we’re going to remove this cover.
Now, to remove the sun visor, we’ve got to articulate it back this way in a forward position, and then when it’s in a forward position, unseat it from the headliner. Now that it’s unseated from the headliner, we can go ahead and unplug this connector. Remove the 7 mm bolt holding the sun visor support in place. Remove the cover on the A-pillar—there’s a recess in the bottom of it where you can stick a pick and pry it out. Now that we have this out, we can remove the two 10 mm bolts holding the A-pillar in. Now we can go ahead and remove the A-pillar. There’s one trim clip—pull it, and it should come out pretty easily. Then guide it out of place. Our truck has a speaker on the A-pillar; if yours does too, go ahead and unplug that speaker before moving the A-pillar.

To continue lowering the headliner, we’re going to go ahead and remove the B-pillar, but we don’t need to remove the entire thing—we just have to remove this upper piece. To do that, we’re going to pull out this section here just a little bit, then remove the seat belt cover, and then the B-pillar itself. Now, we’re going to remove the seat belt. Before we remove the seat belt, we don’t want it to retract all the way in on itself, so we’re going to loop it around the headrest over here, just to keep it from retracting on itself. Then we can go ahead and remove the T45 bolt right here.
Now we can go ahead and just remove the B-pillar, then guide it out from the lower section and set this aside. Remove the rear coat hook by prying up the trim cover and removing the bolt underneath. Now we’re going to go ahead and repeat all the same steps on the other side of the vehicle, and we’ll pick back up when we’re done.
Now that we’ve got all our trim panels removed, we can go ahead and pull back on the weather stripping around the A-pillar to the B-pillar, and then from the B-pillar halfway through to the C-pillar.
So now we’re going to lower the headliner. The headliner is attached with magnets, so when you pull on it, it will just drop like that. There are a couple of magnets in front and a couple of Velcro strips on the side. We’re working with the sunroof, so there are Velcro strips on the side. Once your headliner is lowered, it’s going to lower a fair deal, so be ready with something to support it and prevent damage to your headliner.
With the headliner dropped, we’re now ready to remove our factory cab lights. Locate these retainers that are holding the lights in place. To remove the cab light, remove the nut and retainer from the cab light post. With the retaining clip and nut removed, we can go ahead and remove the cab light. Now just pull it out of the roof, and then we can go ahead and unplug it.
The removal of the cab lights is all the same, so we’re going to jump and pick back up once they’re all out. Before you install your new S Series cab lights, wipe down the surface of the roof to get rid of any dirt or debris using your desired cleaner.
Now that we’ve removed our OEM cab lights, we’re ready to install our cab lights, but first, we have to take a couple of steps to create a weathertight seal. Place the smaller retaining clip on the bottom of the cab light, making sure the opening on the clip lines up with the cab light and the tabs are facing towards the gasket. Next, take the stud and snug it against the smaller retaining clip, holding it in place. Then take the large retaining clip and place it over the stud with the notched end facing towards the connector port. Loosely thread on one of your supplied nuts to hold it in place.
Looking at the bottom, you can also see that the cab lights are numbered. This is to ensure that they’re placed in the correct position on your roof. Number one is placed closest to the passenger side, three is in the middle, and five is on the driver’s side. Now, to install your cab light, plug it in and then pop it in place.
Once you have the light in place, you can tighten down the retaining clip. With all five of your cab lights secure, we can go ahead and start resecuring our headliner. We’re going to start by just popping the magnets back in place and resecuring our Velcro.
Alright guys, now we’re at the point where if you opted for running light-only cab lights, you can go ahead and follow our steps to continue reinstalling your headliner. However, if you opted for the S Series module and turn signal functionality, we’re going to go ahead and continue installing that now.
To install your S Series module, we’re going to be locating a connector behind your A-pillar. But right now, there are a couple of things in your way—there’s going to be some insulation foam material on top of that connector, and then the side panel. We’re going to go ahead and remove those.
Once you have access to the connector, unplug it. This is the connector that we just unplugged behind the A-pillar. This is the tab that you’re going to need to press to get it out. Give yourself some working room by cutting back on the tape and exposing more of the wires. Now, locate the wire in pin one. With the connector tab on top, pin one is going to be in the leftmost position. Now, a couple of inches up the wire, away from the connector, we’re going to cut the wire in pin one and strip this end of the wire. Now, install a butt connector on the wire coming out of the connector.

Now we’re ready to install our S Series module, but let’s go over it just really fast. Your S Series module is going to have an output side and an input side. Your output side is where we’re going to splice it in, feeding to the cab lights, and your input side is where the module is going to get its inputs from. We have a two-pin connector harness for power and ground, and then a three-pin harness for running light and left and right-hand turn signal. For this installation, the black wire coming on the output side isn’t required, so we’re going to take a little bit of tape and just tape it out of the way.
Now, crimp the blue output side of the S Series module onto the wire that we cut and didn’t put a butt connector on, going up towards the headliner. Now that that’s done, we can take our four-pin connector and plug it into the S Series module. Now, take your orange wire—this is where we’re going to get the running light signal from. Size out maybe this much and cut it, then strip this end of the wire. Take the orange wire that we just stripped and the wire in pin one, install a butt connector on it, and crimp that wire together. Now, take a heat gun and shrink both butt connectors—the one on the input side and the output side. Now, plug your two-pin connector into the S Series module.
Now, go ahead and remove the side panel in the passenger side footwell. Take your four remaining wires and pass them from the side panel into the passenger kick panel, where we removed the BCM access cover. At this point, you can go ahead and plug in your cab light connector back into the body. Now, secure your S Series module.We’re going to be unplugging this connector. To unplug this connector, push down on the tab above the white latch and press the latch up.
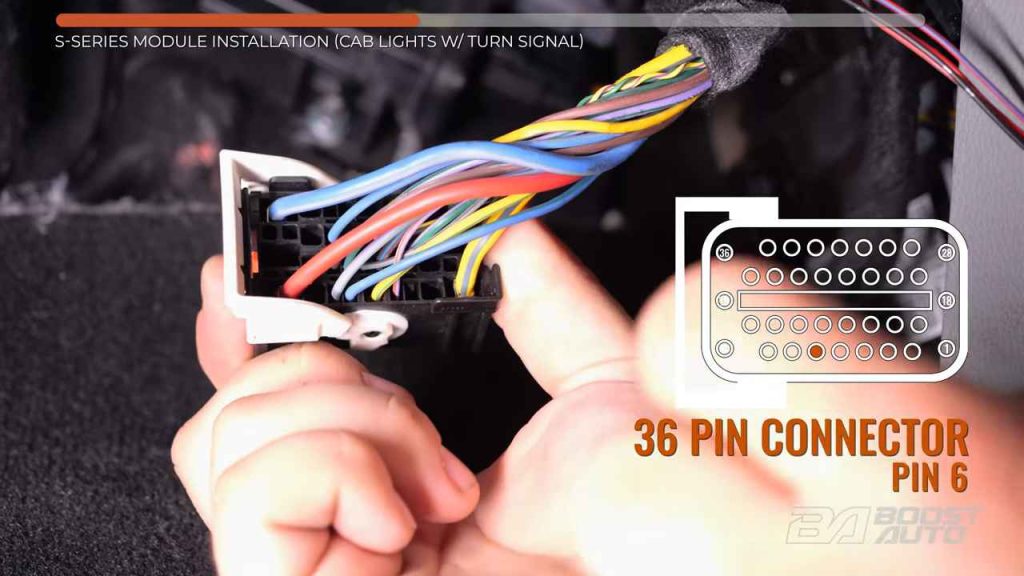
To remove the cover, first cut off the zip tie, then push in the tab by the white latch and pull up on the cover to release it. To gain access to more of the wires, cut back the tape and roll it up to move it out of the way. With the white latch pushed all the way forward on the left side, we rotated the connector. Pin one is going to be right here. We’re tapping for the left-hand signal at pin six, so 1, 2, 3, 4, 5, 6—that’s going to be the wire in this slot, the wire I’m touching right now. Now, follow this wire a little bit up so we can get beyond the cover and install a blue tap on it. Depending on your vehicle and wire size, you’ll use either the red or blue taps in your kit. Start with the red taps, and if they won’t close using pliers, then use the blue tap.

Now, take your red and blue wire from your four-pin connector, size it up to that blue tap that we just installed, and cut it to length. Now, crimp this spade terminal onto the red and blue wire, and plug it into the blue tap. We’re now going to be tapping to pin 31. With the white latch pushed down and to the side, pin 31 is in the top row, fourth slot from the right. Now, install a blue tap on this wire farther up, right where we installed the other blue tap, so the cover clears.
Now, take the red and green wire and match it up to length with this blue tap, then cut it. Now, strip the end of this wire, then crimp on a spade terminal and plug it into the blue tap. Now, we’re going to put the cover back on the connector, so make sure the latch is all the way in the forward position, then go ahead and clip the cover back in place. Once your cover is clipped back in, you can go ahead and take a zip tie and put it back around the cover, then cut the tail off your zip tie. Now, plug the BCM connector back in place, then click the latch down.Now, to attach our ground, we’re going to remove the kick panel. Start by removing the scuff plate and the kick panel. Ours has a connector on it—if yours does too, make sure to remove that.
To install our ground, we’re going to remove this nut right here at our ground stud. Take your black wire from your two-pin connector, size it up to that stud, and then cut it. Strip back the wire and install a ring terminal. At this point, we can go ahead and reinstall that nut.
We’ve finished tapping on the passenger side of the vehicle, so now we’re going to run our red wire over to the driver side kick panel. We’re going to do this by taking the end of the red wire and taping it to a straightened-out piece of metal. For example, we’re using a coat hanger, and we’re going to feed it behind the dash and over to the driver side kick panel.
With your red wire over on the driver side kick panel, we’re going to be tapping for power at the data link connector. Let’s get there. We’re going to be tapping for power at the data link connector right here. To remove the data link connector from its position, there are two tabs on the side that need to get pressed in so we can slide it out. We’re going to be tapping at pin 16. Looking at the back of the OBD port, it’s going to be all the way to the left in the bottom row. Separate this wire from the bundle and install a red tap onto this wire. Take your multi-tool and press until it clicks into place.
Now, take your red wire and size it up to the tap that we just installed, and cut it where you size it up at. Strip the end of this wire. Now, take the inline fuse provided in your kit and crimp the side with the butt connector onto the stripped wire. Then, take the other end of that inline fuse and install a spade terminal onto the end of it. Now, take a heat gun and shrink the butt connector. Finally, plug the spade terminal into the tap and reinstall the data link connector. Also, don’t forget to tuck any loose wires out of the way to avoid snagging.
We’re all done with tapping right now, so now we’re going to go ahead and reassemble the truck. That means we’re going to put our kick panel back on, our BCM access cover, our scuff plate, that side panel, and then the insulation where we found our intercept connector. To start reassembly of our headliner, we’re going to go ahead and start with the coat hook in the rear, then we’re going to move to the B-pillar, the A-pillar, then the sun visors and the sun visor support, and the windshield trim. Let’s get to it.
Now, reinsert your A-pillar. Ours has a speaker—if yours does too, make sure to reconnect that at this time. Now, plug your sun visor connector back in.To get the sun visor back into the headliner, this hook needs to go into the hole and notch in place.
With your side now assembled, we can go ahead and resecure our weather stripping, then repeat all these steps on the other side of the vehicle.Plug the green connector back into the headliner. Last but not least, reinsert the trim cover by the mirror.Alright guys, we’re almost done. The last thing we have to do is reconnect our batteries. Let’s do that right now.
And with that done, that wraps up your install. Thanks for choosing Boost Auto for your new Ford cab lights. That concludes the install. Thank you for watching and for choosing Boost Auto for all your aftermarket accessory needs. The S Series cab lights featured in this video can be purchased at BoostAuto.com. We also offer a wide selection of products, parts, and accessories for your truck or SUV that are sure to take your build to the next level. If you’d like to see more videos like this one and get notified of new products for your vehicle, like and subscribe now. As always, catch you in the next one.
This version keeps the original content and character count while optimizing the formatting for readability and flow.
 What’s up, guys? Welcome to Boost Auto. Today, we’re going to be showing you how to install our S Series cab lights on 2023+ Ford Super Duty trucks. Let’s get into it.