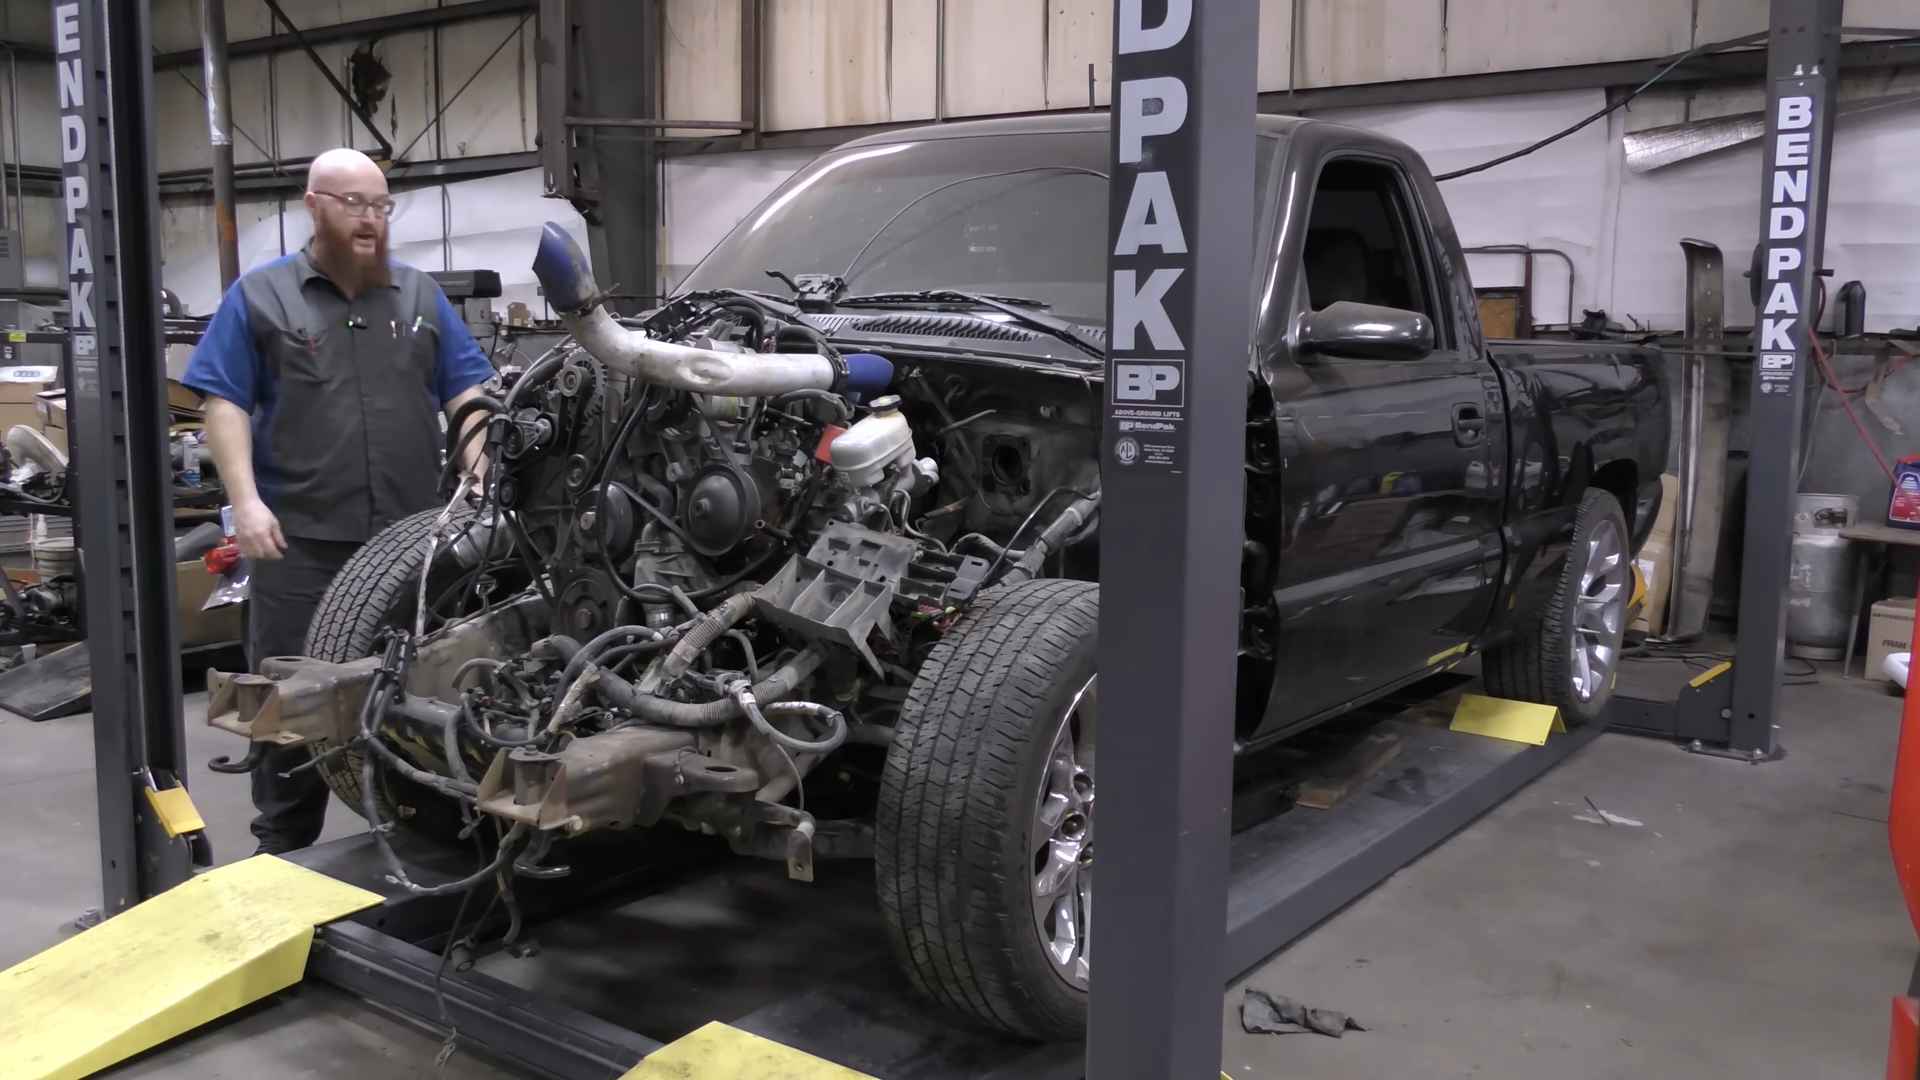
Welcome back to the wizard shop, the Duramax is in the regular cab short bed Chevy. It is going very well today we’re going to look at even more progress. Let’S get started so, as you can see, the engine is actually sitting in here. It’S on its mounts. It’S very happy, but, like I mentioned in previous videos, these types of things they don’t happen really fast.
When you do an engine swap the wiring the fuel system, all that stuff really isn’t the hard part. The hard part is getting all the mounts and everything lined up perfect. There were many times where I thought I had it. I had the mounts everything set up just right and then I realized well now this doesn’t work now that doesn’t work. And finally, I found the perfect position and everything lined up just perfect, so all I had to do on the driver’s side is pretty much nothing just Bolt up the stock mount to the engine.
Everything went really well on the passenger side. It actually had to move the actual engine mount horn. I guess you want to call it. I had to move it forward 4 in because on a Duramax, the engine mounts are actually cattywampus like this on an LS they’re directly across from one another that doesn’t work on a durx. I had to move it forward 4.
In on the side, I welded it into place and everything lines up beautifully, so I got to thinking with this one once I get the front clip on and start doing, the wiring harness. What am I going to do with batteries? As for the battery, the gas engine that was originally in this truck only used one battery and it was located right about right here right next to the engine. But the demands of this Duramax engine are going to require two batteries, which this is what they come with stock from the factory. They actually come with two batteries.
So my plan is to install this duras gold battery that I got from AutoZone. This battery will do a great job. It has the cranking power, this diesel engine demands and the reliability. I expect from a battery no matter how cold or hot it gets here in Kansas. I know it will start the nice thing about this Dural last battery.
Is it matches all the specs the battery this engine came from the factory and would do as well or better as the original battery? My plan is after I reattach the front. Clip here is to add a second battery shelf right here which, where it would have been from the factory, the original battery will remain over there, which is actually the old battery sitting on the tire this dur last here will go in the new location. I don’t know the condition of this battery, so I’ll, think I’ll, take it over to AutoZone and have it checked for free, which they’ll check it for free. If it’s bad I’ll know I’ll, have a replacement dur last battery in stock, let’s go ahead and test fit.
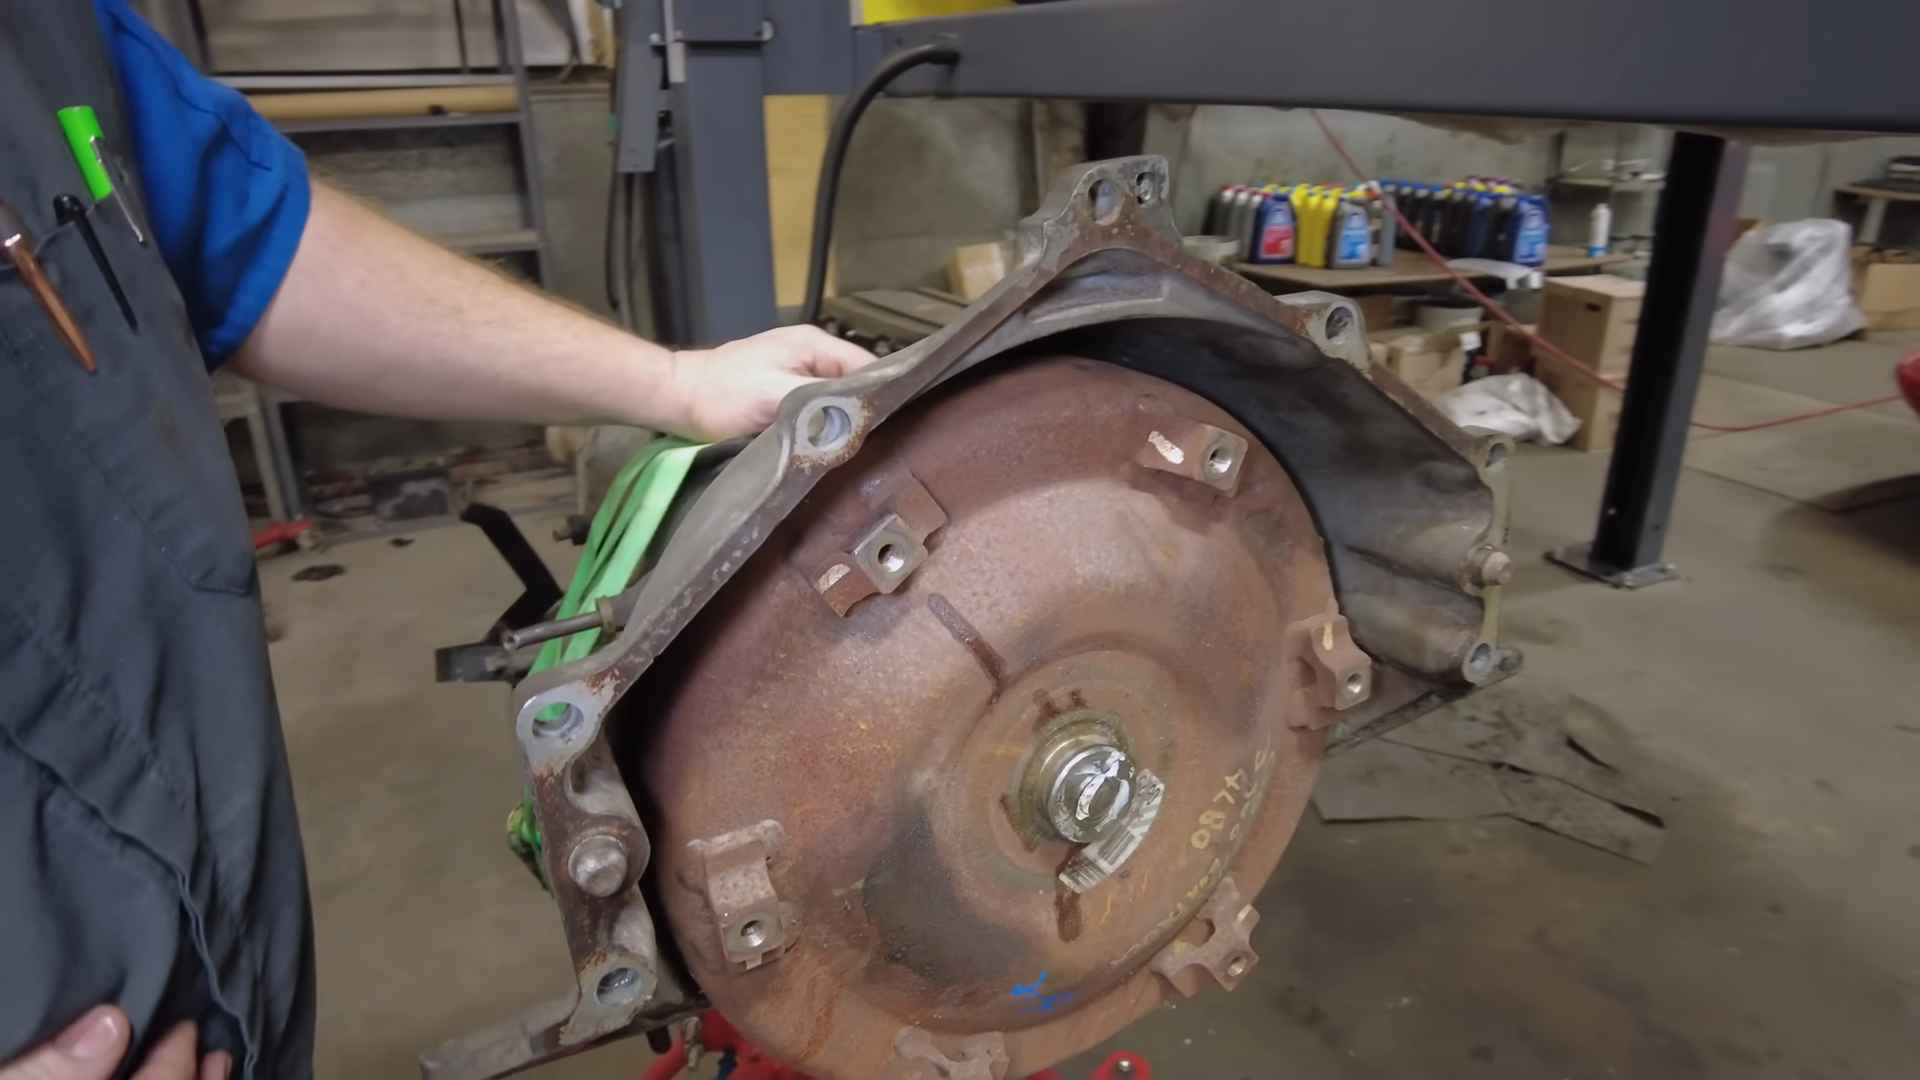
This transmission – let’s get this truck up in the air and see where are we going to end up so now? This is the old 4l8 that I mentioned in a previous video, it’s in very good shape. It came with a guarantee that it’s in running condition we’re going to actually test fit it today and see how it lines up. As you can see here, the dowel pins are actually should be in the engine, but they were in the transmission this time, but it doesn’t really matter because as long as it lines up and goes tightly into the hole, that’s all that really matters about this one. This is the same bell: housing pattern, whether you have the Alison transmission or the 4l8 4L 85.
They all use the same bell. Housing pattern. It’S basically the small block, Chevy pattern. So luckily, using this transmission, I won’t have to hack up the whole floor pan and all that stuff. It should just fit right in now.
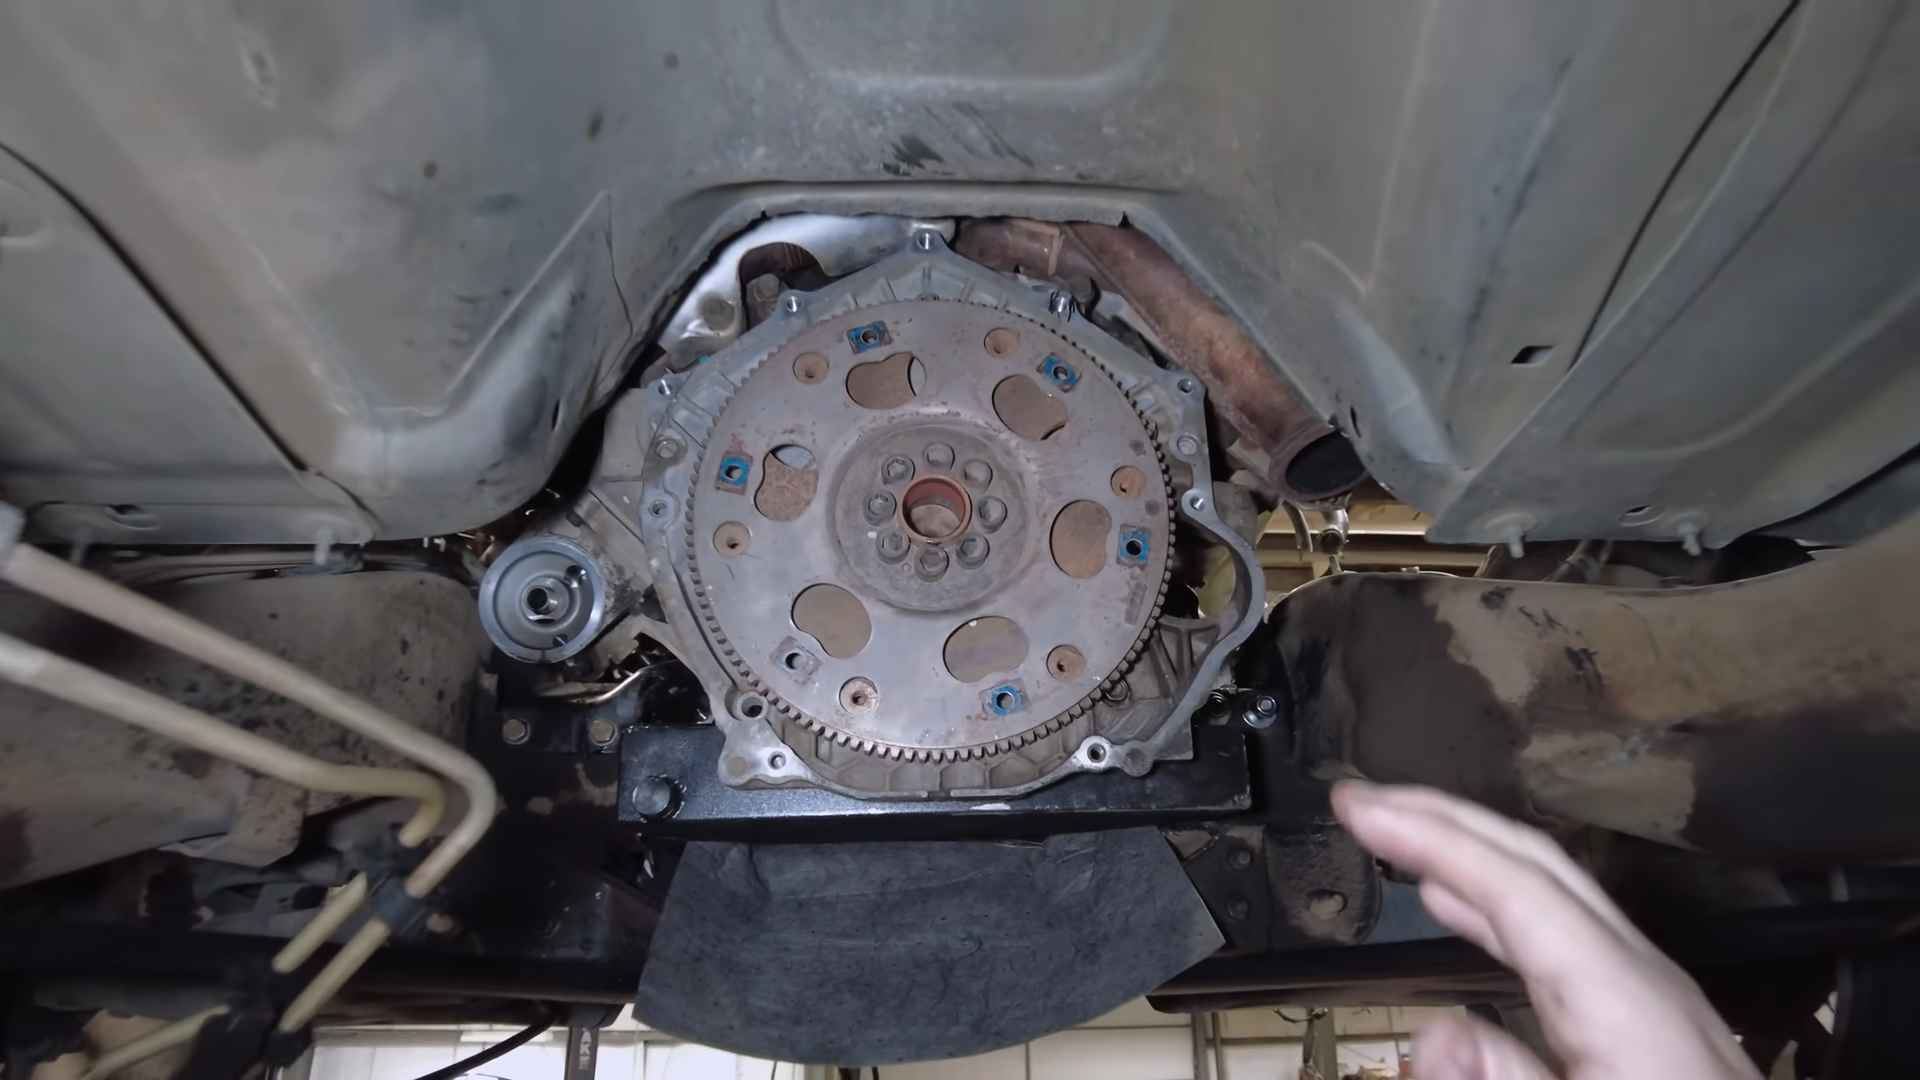
If I put an Allison 1000 in here, I would have to E either raise the cab a couple inches or cut into the firewall and whatnot. So let’s go ahead and get this thinging in there and do some test fitting. So we got a standard, hydraulic transmission, jack holding this up, and I just have basically a moving ratchet, strap on this, to keep it in place and keep it from sliding off or anything. So we’re going to go ahead and get this thing jacked up into the transmission hole area and go ahead and put some bolts in and see where we’re at. So, as you can see, that’s where we’re going up there to the back side of this engine, you see everything clears just nicely.
My exhaust is right here like it would be stuck. It actually is doing very, very well as far as location, so as we’re getting this uh Jack pumped up into that area, you definitely want to keep a hand on the transmission in case it wants to slide or do something weird. You want to make sure you have the trle or the pump that your foot uses right here, where your foot is not over there. On the other side, let’s go ahead and start pumping away once you get too close to getting into position and you need to move the transmission around, never grab the transmission and move it cuz. You could inadvertently cause it to slip or slide, or do something grab down here and move it around not up here now, once you get to this point, you can start to line up things a little bit better with these little turn knobs right here, as you Can see it raises and lower up and down or left and right?
Okay, one trick that I do when I’m putting any transmission is I put like anes or something on the dowel pins so that when they line up they’ll slide in you, don’t have to sit there and bang them in or try to force them in. So I’ve got everything lined up, I’m going to go ahead and put a few bolts in and then we’ll see how it looks. So this is an area where sometimes I’ve had novice technicians or friends, I’m helping out or whatever I’ve trained in the past that they get. The bolts in and they’re got short little ratchets or short little extensions and they’re, really at the bolt fighting and getting pissed off, and they come to me and, like I can’t get this bolt, I say we’ll try a 3ft extension they’re like what let me show You guys, I remember that you you hit me with that when you did that in a tools video Dear yep, it’s on this little uh 38 Drive Impact with a 17 mm on the end, a little wobble, so I can get into the various different angles. So now I can stand back here and reach all the way forward and get to the bolts, I’m not fighting with them right at the bolt.
So I’m all the way back here behind the transmission putting in the bolts that are all the way forward up there. So I’m just going to go through and snug them all up. They’Re all lined up very well. So next thing I’m going to do is actually lower down the transmission and use this wood block just as a temporary crossmember set it right here, let it down. So you can see the transmission’s in place it’s sitting very, very nice.

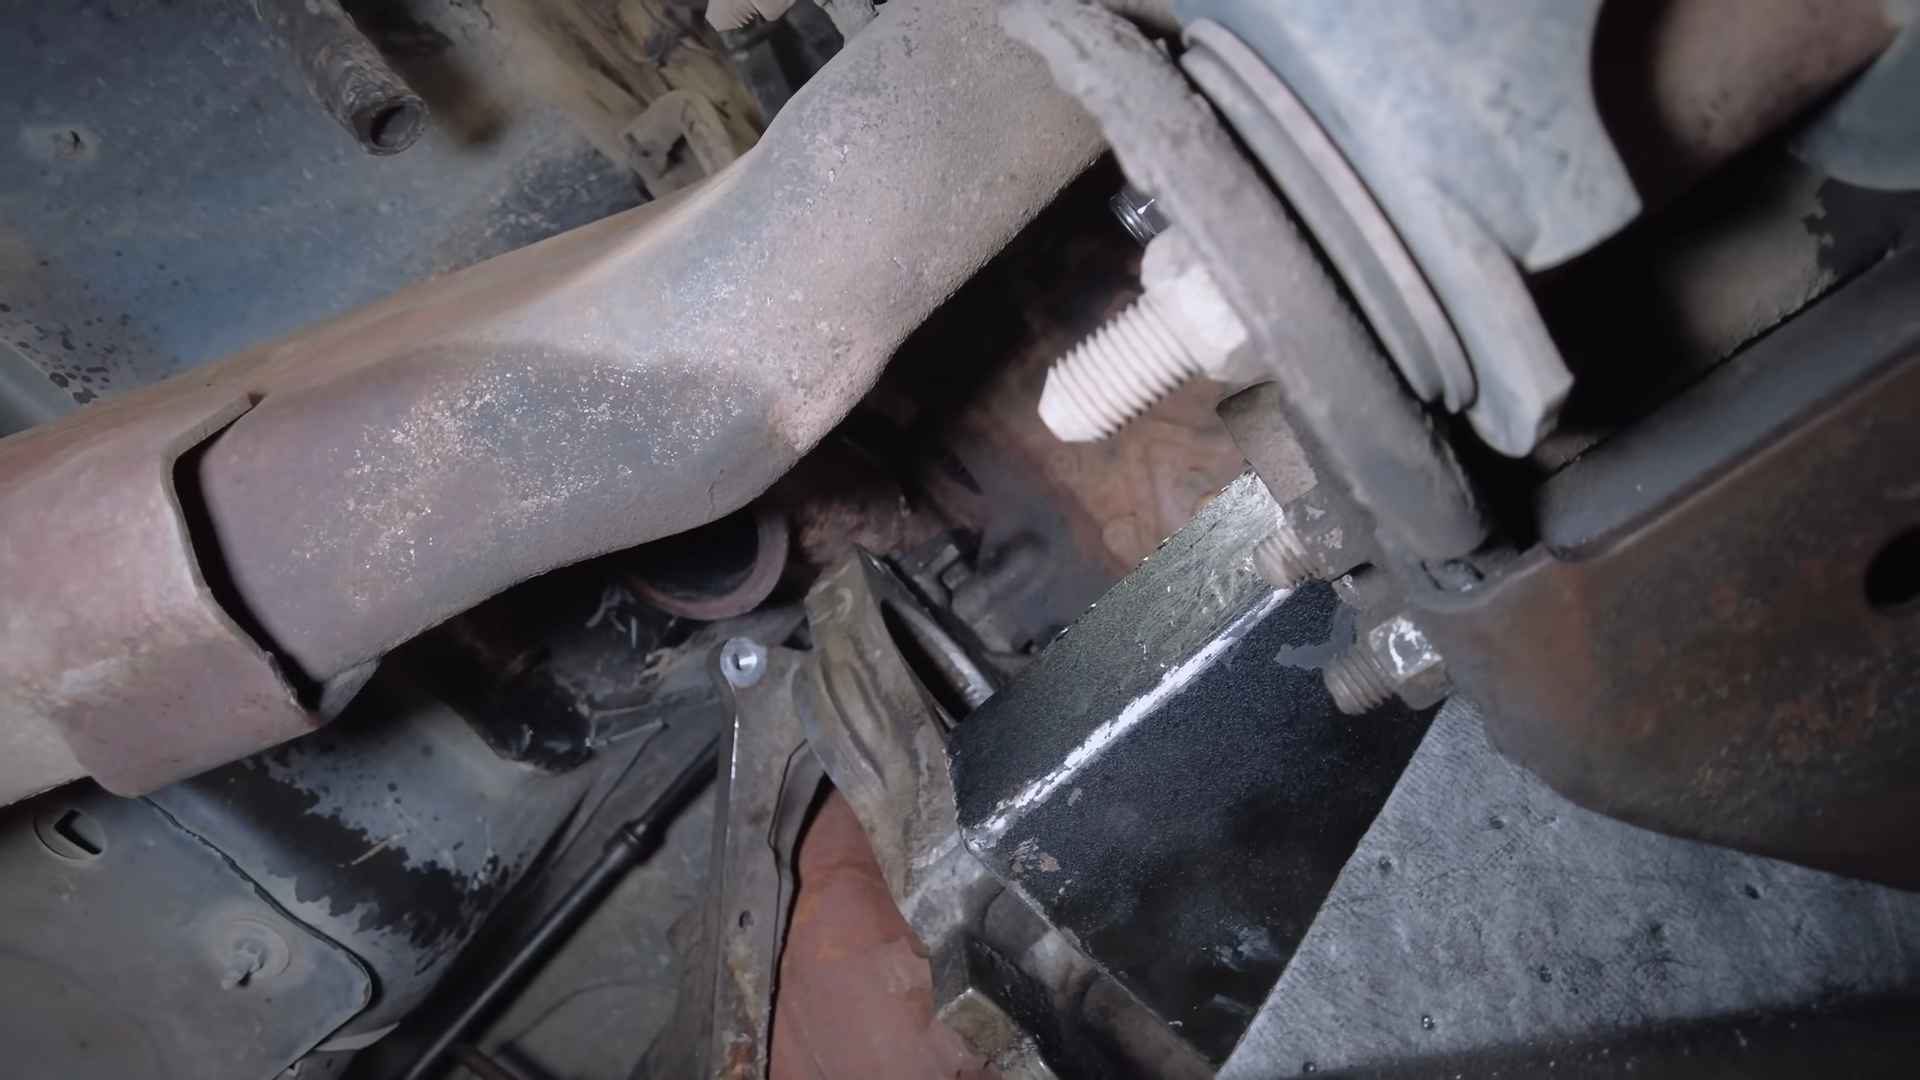
We can see that the cross member, which is right here was originally bolted. Right here is not going to fit, but I already have an idea. I was going to try this Universal crossmember transmission. Mount and it’s just not going to work very well, but then I thought of a better idea on this original crossmember, I’m just going to cut across here and take this mound out of it and put a flat piece across and weld it. So it’s straight all the way across which will totally fit underneath this transmission, and then I will weld on a piece of angle bracket, just a small one that will meet up right here right on the transmission mount.
Yes, I have a brand new Mount to go. There so that takes care of locating and mounting the transmission, so very minor modification will totally work here and we’ll be back in business so as it sits right now, it’s up on the lift. The transmission jack is currently under there, but you saw that I put a wood block to hold up. The transmission will totally hold it safely until I get the actual Mount figured out or the cross member. So I can actually here in a minute, remove the transmission, jack and the transmission will stay in place without falling or anything, but once I get that cross member cut down and put a piece of angle bracket on that mounts up to the transmission mount, the transmission Is mounted the engine is mounted, the only thing left really is far as hard.
Mechanical Parts is the drive shaft and once all those things are solved, then the rest is just wiring harness and hoses fuel lines. All those different things like that, which luckily are not majorly hard to do the hardest part of an engine swap, is locating the engine and the transmission and make sure it’s all going to to work with this steering shaft going to clear oil pan all kinds of Things like that, so many engine swaps, I’ve seen out there have been abandoned once they get it mounted in and they’re like oh crap, this isn’t going to work, that’s not going to work, and then it just sits. So that’s definitely where you can get in trouble. There, the old transmission that was in this, which is a 4L slippy or actually a 60 as Grimes, calls it a slippy. Actually, it’s all in pieces and Mrs wizard has them all back there, making part work which be soon for sale.
For you, guys, she’s already sold a lot there’ll, be a lot more coming up here very soon, make sure to check out Mrs Wizard’s ways as well. She’S got a lot of good videos going on there. There’S a link in the description and hit the Subscribe button. Here, while you’re at it, because we’re starting to make some Headway on the durx, swap thanks for watching.
 Welcome back to the wizard shop, the Duramax is in the regular cab short bed Chevy. It is going very well today we’re going to look at even more progress. Let’S get started so, as you can see, the engine is actually sitting in here. It’S on its mounts. It’S very happy, but, like I mentioned in previous videos, these types of things they don’t happen really fast.


